A Behind-the-Scenes Look at my Client Onboarding Process
So you worked hard to land your new client. Congratulations, my friend!
Trust me, I know how much hard work, sweat, and tears it took you to get to this point – so now it’s time for you to deliver.
I remember the day I got my first BIG client for a full brand and website project, and I was so excited to work on it! After spending so much time sending out emails, posting on social media, networking on and offline… the day finally came! And when they gave me the green light to kick-off the project and start working on it, I had a big problem….
Since I put in so much effort and energy in trying to land this client, I didn’t even have the chance to think about what was gonna happen when they agree to work together! Seriously, the crickets started chirping in my head as soon as we got off the phone together.
“What do I now?”
I didn’t want to get my client waiting, so on that day, I remember sitting at my computer until 4am Googling my heart out, trying to find as much information as possible on what a good client experience should be.
Let’s just say… there was a LOT of stuff to process. And I vouched that I will use this experience as a learning opportunity to build the most amazing client experience possible.
So now, three years into running my agency, I can tell you that I’ve invested a lot of time and resources to ensure that my client experience is easy and exciting. And the knock-on effect is that because their client experience is memorable – they rave about it in my testimonials and their friends for further work too.
So in this blog post, I’m gonna give you a sneak peek into the behind-the-scenes of my client onboarding process that I’ve been perfecting (and still am) for over 3 years. Because, my friend, I know that you also want to deliver the best experience for your clients, and I don’t want you to feel as lost as I did when I started.
Also, this onboarding process is what works best for me and my agency. So don’t be afraid to mix things up and add your own personal touch for your business!
Before we dive in, I want to be completely transparent with you and let you know that some of these recommendations do have affiliate links.
Meaning that if you decide to sign up through me (at no extra cost to you, of course), I’ll get a little bonus on the backend. But I want to assure you that these recommendations are tried and tested in my own business first and they’re the ones that I personally still use today.
So… let’s dive in into my client onboarding process:
Step 1: INITIAL ENQUIRY
Your onboarding process doesn’t actually begin when your client agrees to work with you. In fact, it happens way before that – it’s when your lead interacts with your brand for the very first time (be it on social media or your website).
So ask yourself this: “How easy is it for my potential client to get in touch with me?”
In my recent blog post on the 9 Crucial Elements to Have on Your Website, I talked more about how to create a high converting contact form. This is where you make sure that your leads can get in touch with just a few clicks.
How do I do it?
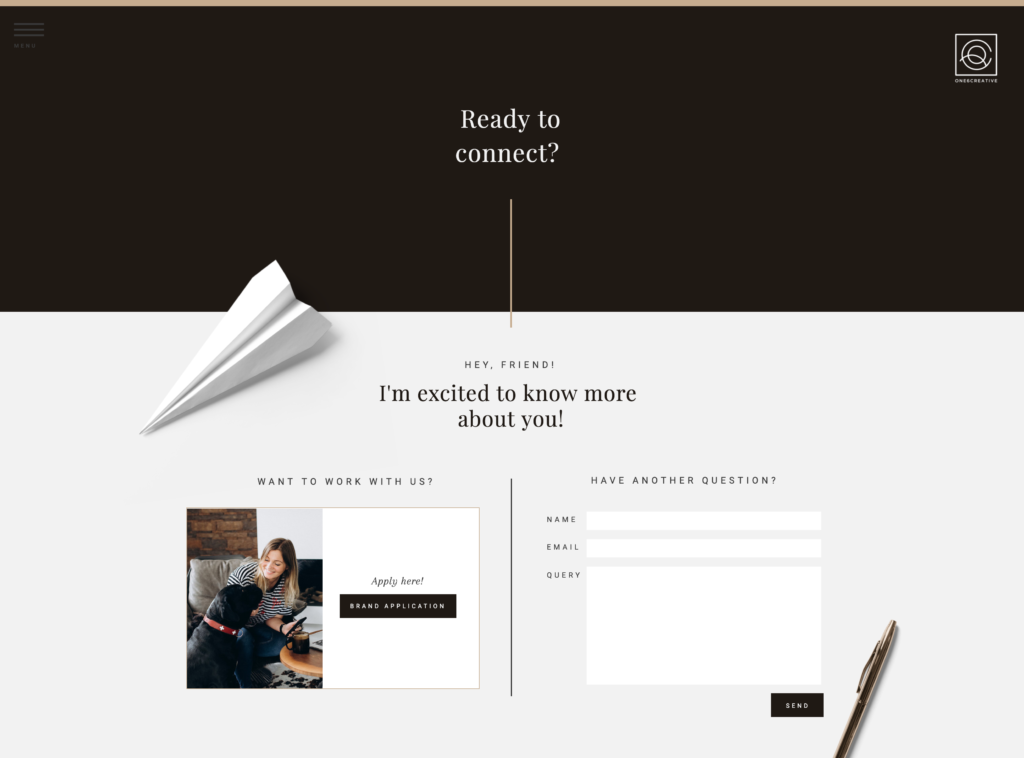
On my website here, I have two options for contacting me. One is for people who are interested in working with me, and the other is more for general enquiries. I also provide an email address if people want to get in touch via email.
The “potential client” form is linked to my CRM (client relationship management) program – Dubsado. Now, I speak a lot about Dubsado because this is the software I use to help create a seamless, enjoyable client experience.
Once a lead submits a “potential client” form through my website, Dubsado automatically creates a Lead Profile within my account by collecting all the information that I asked in the form. This stage helps me get more information about my client and their business, and filter out leads which aren’t a good fit.
PRO TIP: Always ensure that your lead receives a confirmation message on when to expect a response from you. This is “good online manners” and shows that you work on a schedule.
Step 2: DISCOVERY CONSULTATION
If I find that the project ticks all the boxes (for me, it’s type of project, budget, and timing) then I will reply to my lead (usually within 24 hours) with an invitation to book a consultation call.
Now, not many businesses do this, but I personally like to speak with my potential client before jumping on board. This helps me get more information about the project, get to know them better personally and, for them, to get a feel of who they’re potentially embarking on this exciting journey with.
I used to send some date and time suggestions via email, but I quickly realised that this method wasn’t sustainable. My schedule changes all the time and my clients are all over the world. The constant back and forth was making it really hard to find a time that suited us both. But since jumping on the Dubsado train a year ago, I was so excited that they had a Scheduler option as part of their software!
So now, I can simply send a link to leads to view my availability and choose a day and time that was suitable to them.
On my Discovery Consultations, I keep them to 30 minutes max to go through my “Client Discovery Checklist” to ensure that we’re a mutual good fit to work together.
Step 3: PROPOSAL
If the Discovery Consultation went well and we’re a good fit for each other, then it’s time to send a proposal! I used to write all of my proposals from scratch for each of my leads when I was just starting out…and oh my god, I’ve lost count of how many hours I spent doing that!
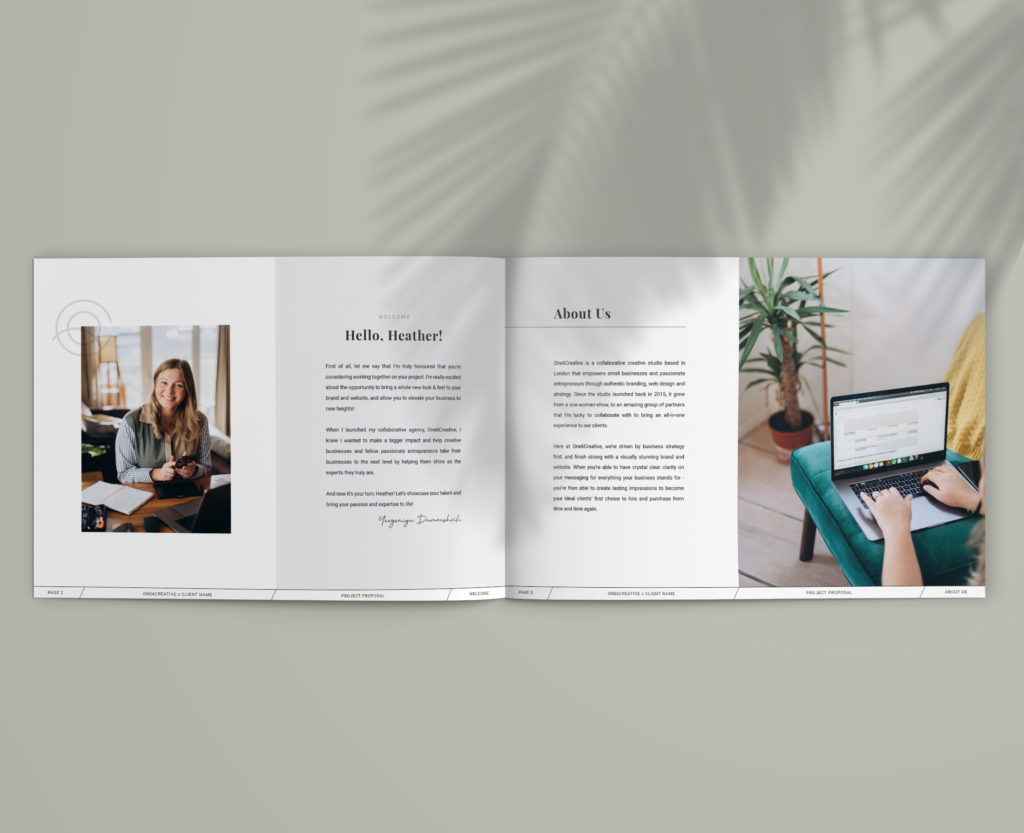
Now I have templates for each type of projects in a PDF format, as well as in Dubsado. That way, I can quickly customise and send my proposal out to my potential client very quickly. The proposal outlines the project objectives, my process, proposed timeline, and investment. It also showcases a couple of past projects and testimonials with links to case studies on my website if the prospect wants to see some more of my work.
Most importantly, you should always have a clear CTA (call to action) at the end of your Proposal. If I send my Proposal via email in PDF form, then I add a button on the last page of the document which will take them to Dubsado where they can “agree” to the Proposal. They can also just hit “reply” and email me their response or questions if they prefer it that way too.
Step 4: CONTRACT
Just like my Proposals, I used to DIY my contracts for every. single. project. Yup… a lot of time wasted there as well! But, I recently invested in some proper contract templates through The Contract Shop and OH MY GOD – what a difference it makes!
Honestly, I never thought I would be so obsessed over some legal documents. But it provides such peace of mind for me and my clients.
As soon as my client approves of the Proposal, I can then automatically send their contract through Dubsado for them to sign. Thanks to the new contracts I got from The Contract Shop, it only takes me about 15 minutes to edit the contract for the specific project, instead of spending hours customising it like I used to do it before.
Step 5: START OF WORK INVOICE
For my clients to begin working with me, I always ask for a down payment. So as soon as my client signs the contract, they automatically receive a Start-of-Work invoice.
Now, this may sound like a lot of steps for you, but actually? It’s just a couple of clicks for my client. And the beauty of it, is that this all happens automatically through Dubsado. How amazing is that?
So basically, once I’ve sent the Proposal to my lead, I just let Dubsado’s Automated Workflows do the magic for me and guide my lead to officially become one of my clients!
Step 6: ASANA SET-UP
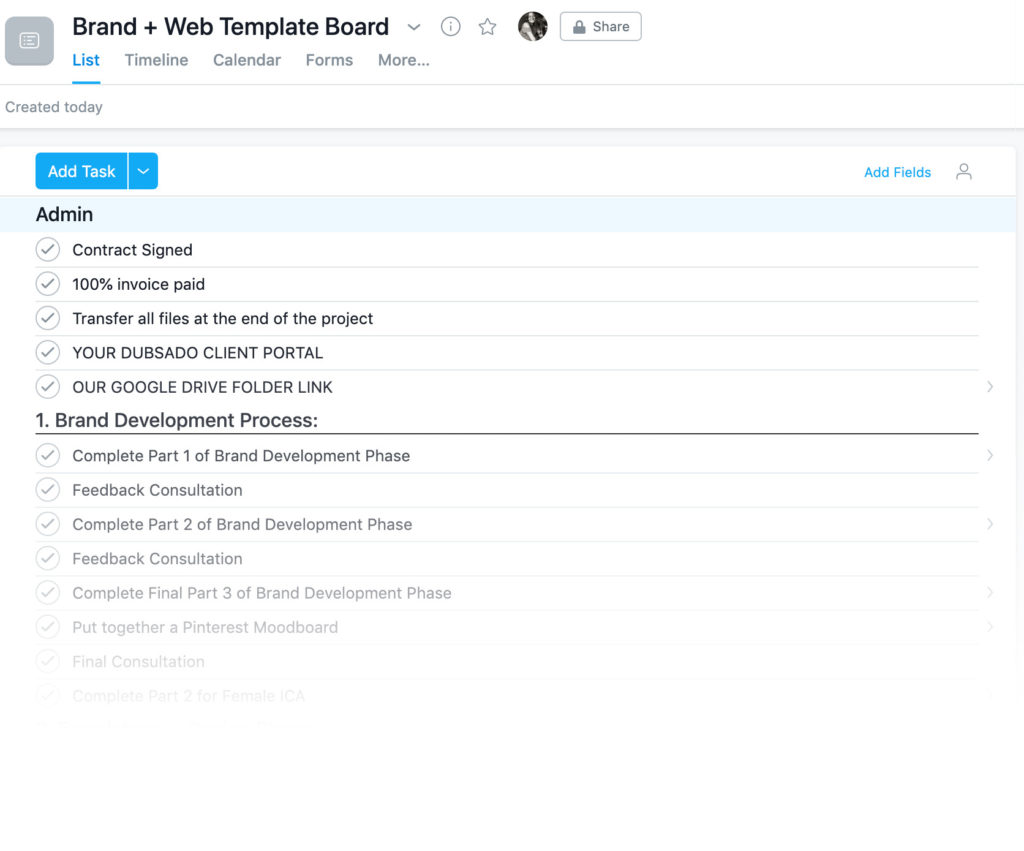
While my client is being guided by Dubsado through all the necessary “formality steps”, I quickly jump onto my Asana to set up their Asana board. If you haven’t yet heard of Asana, it’s a Project Management Software that I use for all of agency-related activities, projects, and client work.
Every client will have their own Asana board with a list of tasks that need to be completed throughout the project. We will use Asana as our primary form of communication, feedback and to set up tasks and deadlines for each other. My clients can also see a real-time timeline of their project and this is a great way for clients to see when to expect what, and how a delay in a particular task could have an impact of the project as a whole. Can you see why I love it so much?
To make things easier for me, I have “board templates” for each type of project that I simply duplicate and customise for each project. This usually takes me 20 minutes max and saves hours of confusion throughout the duration of a single project.
And finally…
Step 7: CLIENT WELCOME GUIDE
Proposal? Agreed.
Contract? Signed.
SOW invoice? Paid.
Hooray! The project can officially begin!
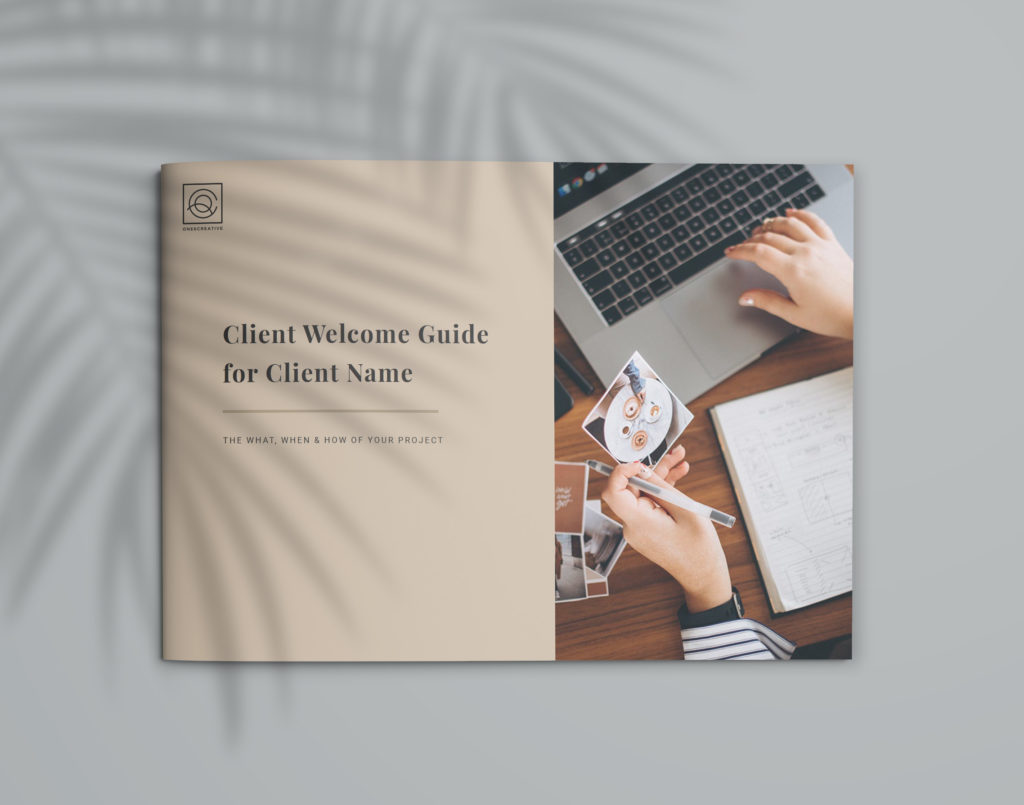
Before we kick things off, my client will receive a beautiful (if I do say so myself) Client Welcome Guide that will outline the next steps, show them a proposed timeline (again), and explain how we will work together.
This is where I’ll tell them about their Asana board, give information about their Dubsado Client Portal and, if I require any access information or passwords, they can click on a button to fill in a protected form.
This guide is a great way to set up expectations and rules before your project begins. For example, I like to add a little slide about “how to provide constructive feedback” during the project, how to communicate and get in touch with me, as well as a gentle reminder of my office hours and response times.
The better you set up expectations at the beginning, the easier and smoother the project will be. From experience, I know that the toughest projects were the ones, where I didn’t set up expectations correctly and allowed my client to disregard my regulations.
And, there you have it! These are the 7 steps I have to transform a lead into a client in an easy, professional, and purposeful way.
Wanna hear more about my process and how I work with clients throughout the project? Or are you interested in learning more about off-boarding your clients? Comment below to leave your thoughts!
I hope you found this blog helpful! If you did, I’d love + appreciate it if you shared this with your friends and fellow entrepreneurs who would value this too!
And if you have any further questions, suggestions, or would just like to say “hey” – I’d love to hear from you over on Instagram @One6Creative (Which you’ll know now, is where I hang out the most!)

A CORPORATE MARKETING DROPOUT TURNED DESIGNER & EDUCATOR FOR CREATIVES
HI THERE, I'm GIGI
WORK WITH US
About
Services
Contact
DESIGNER ACADEMY
The Academy
Business Templates
The Breakthrough Designer
RESOURCES
Podcast
Tools of the Trade
GET IN TOUCH
Client Application
General Enquiry
2016-2023 One6Creative, All Rights Reserved • Design by One6Creative • Policies
WORK WITH US
About
Services
Contact
FOR DESIGNERS
The Academy
Business Templates
The Breakthrough Designer
RESOURCES
The Podcast
Tools of the Trade
FOR DESIGNERS
GET ON THE BREAKTHROUGH DESIGNER® WAITLIST